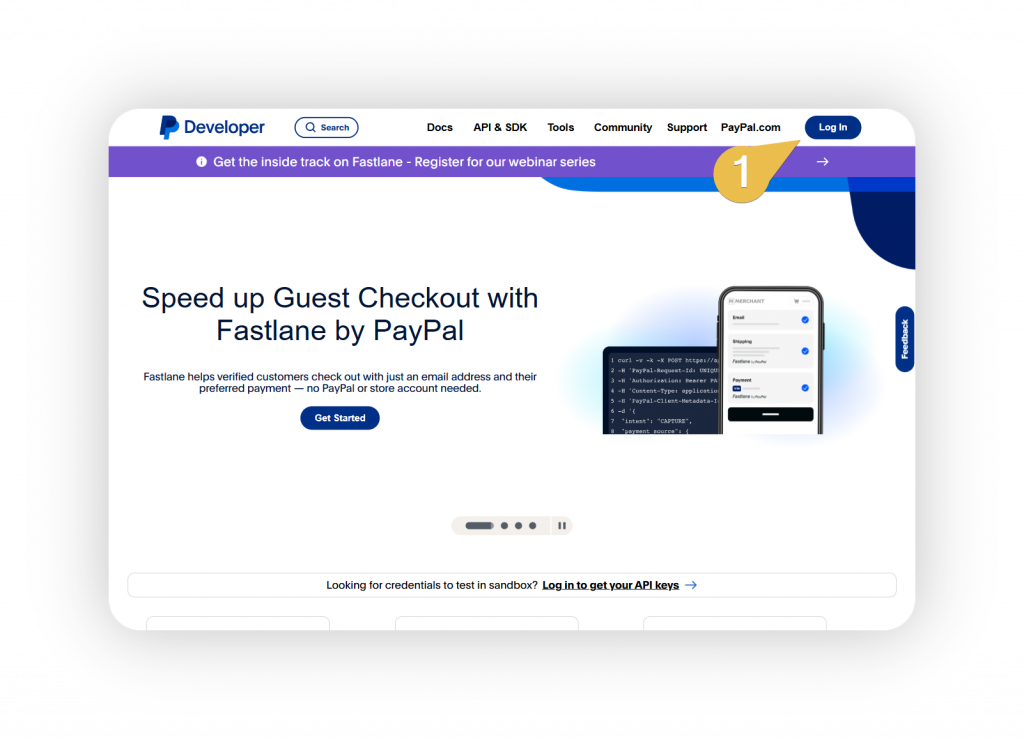
Step 1 – Login to your PayPal Developer account
You can login/sign-up for a developer account using the following link.
Step 2 – Enable Payouts permissions
Once logged in, click on your account name and select ‘My Account’ from the dropdown menu.
Scroll down to the ‘Permissions’ section and Enable the ‘Payouts’ option under the ‘Live’ column.
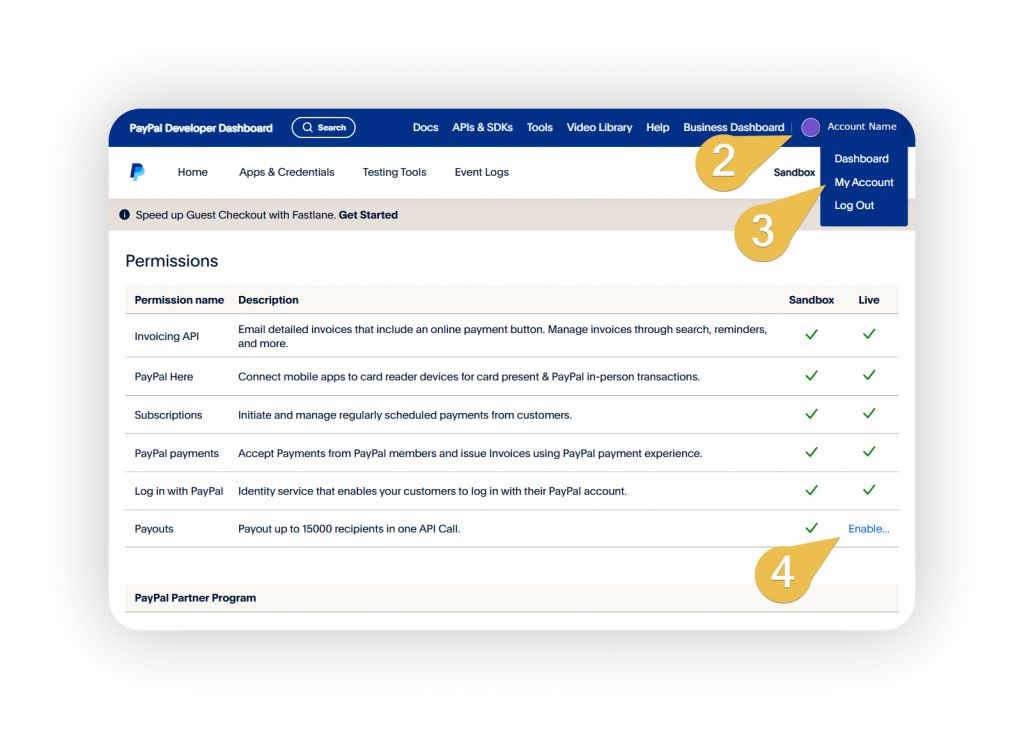

You may need to submit a request and wait for PayPal’s approval before being able to use Payouts.
It is important to confirm that you have been approved, otherwise, you won’t be able to access the live environment.
Step 3 – Switch to the live environment
Click the button under the main dashboard to switch to the live environment.

Step 4 – Create an app
Navigate to the ‘Apps & Credentials’ page and click ‘Create App’.
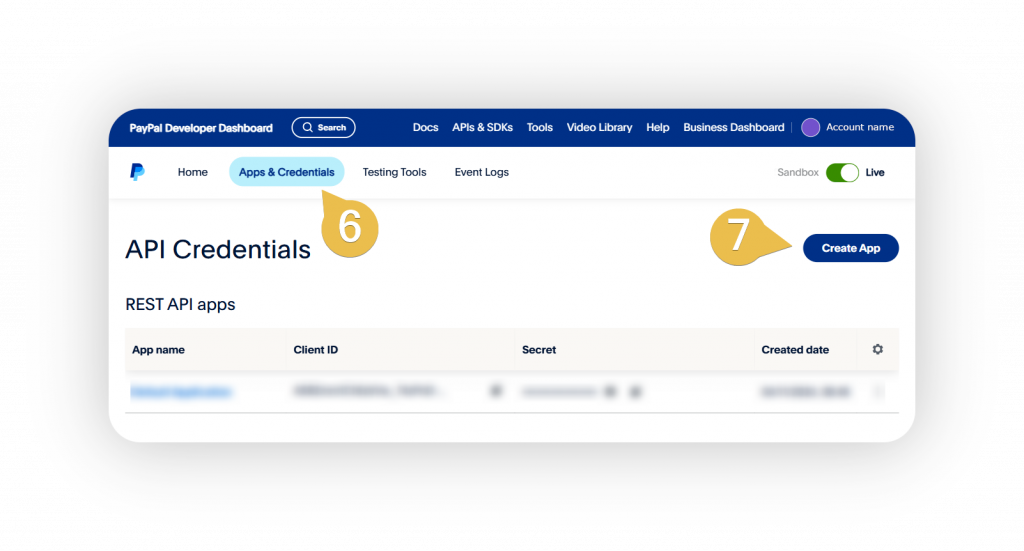
Select a name for the app and click ‘Create App’.

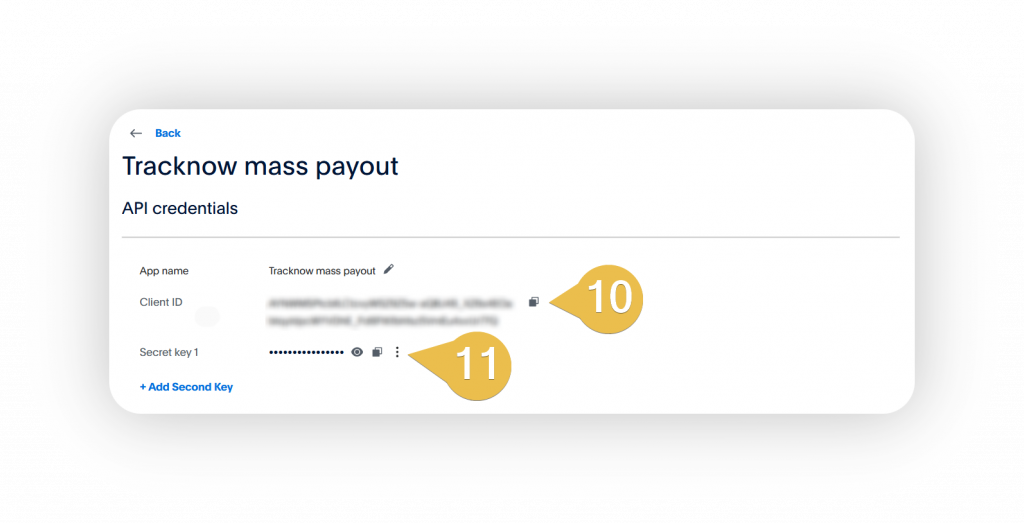
Step 5 – Copy the ‘Client ID’ and ‘Secret Key’
You will need the following 2 values: Client Id & Secret Key
Step 6 – Set it up on Tracknow
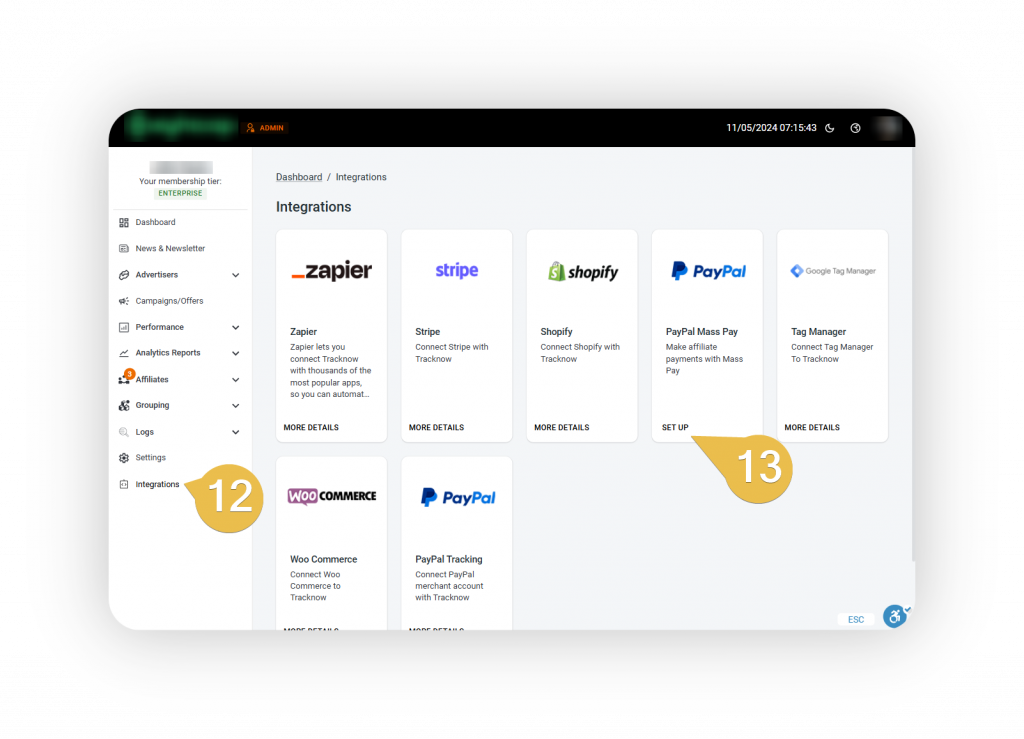
Login to your Tracknow account and navigate to the ‘Integrations’ page.
Click ‘Set Up’ under the ‘PayPal Mass Pay’ option.
Enter your ‘Client ID’ at the ‘Public Key’ field.
Enter your ‘Secret Key’ at the ‘Secret Key’ field.
Click ‘Submit’.
