Click ‘here’ for additional information about ‘Payment Type‘ and learn what it is and how to add it to your campaigns.
How to Analyze and Monitor Payment Types?
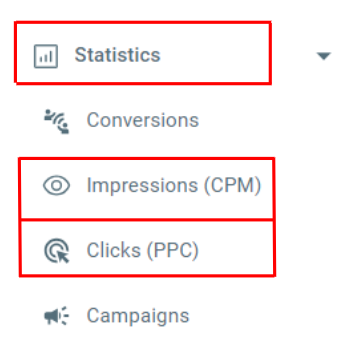
To monitor and analyze a Payment Type, navigate to your dashboard, select ‘Statistics’, and the Payment Type you wish to analyze by clicking on ‘Impressions (CPM)‘ or ‘Clicks (PPC)‘.
Here’s an explanation of each search field:
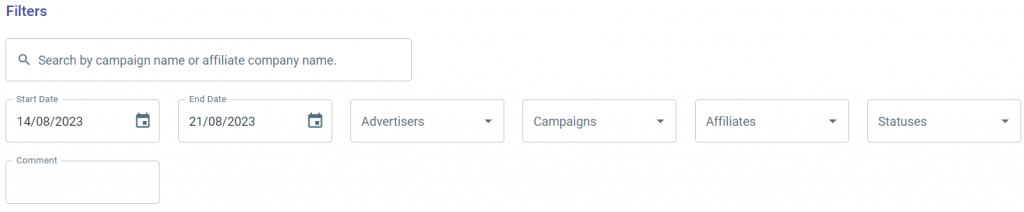
Start Date and End Date – Specify the starting and ending date for the timeframe you want to analyze the campaigns.
Advertisers/ Campaigns/ Affiliates – Filter conversions based on the advertisers/campaigns/affiliates you are interested in.
Statuses – Filter conversions based on their status, such as approved, pending, or denied.
Comment – Search for conversions based on any specific comments or notes added by the campaign manager during the conversion process.
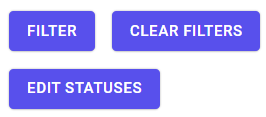
Filter – After selecting the criteria above click on this button to see the results.
Clear Filters – This button clears all the applied filters, allowing you to reset the filter settings.
Edit Statuses – Update the statuses of multiple commissions at once. You can choose the commission statuses you want to change by selecting the checkboxes in the columns below.
Explanation of each column in the commission grid:

System ID: This is a unique campaign ID automatically generated by the system and cannot be modified. It serves as a distinctive identifier for each campaign.
Creation Date: This refers to the date when the campaign was initially established by the advertiser, marking the campaign’s start date.
Advertiser: The name of the advertiser or company running the campaign.
Campaign Name: This is the name given to the campaign by the advertiser. It helps identify and distinguish different campaigns within the platform.
Affiliate: The name of the affiliate who received the conversion. An affiliate is an individual or entity promoting the advertiser’s campaign and earning commissions based on conversions.
Goal Name: This field represents the specific goal or objective associated with the conversion. It helps define the desired action or outcome for the campaign.
Clicks: The Clicks column tallies the number of clicks generated through your affiliate links for the corresponding campaign.
Commission: The commission is the value of the commissions that an affiliate may receive for each click, sale, or other predefined activity. It represents the monetary reward for the affiliate’s successful promotion.
Affiliate Commission: This field indicates the specific commission received by the affiliate for the conversion. It reflects the amount the affiliate earns based on their performance.
Referrer Commission: If the affiliate referred another affiliate who generated the transaction, the Referrer Commission column displays the portion of the commission attributed to the first referrer.
2nd Referrer Commission: In situations where the first affiliate referred an affiliate who then referred another, the 2nd Referrer Commission column showcases the portion of the commission allocated to the 2nd referrer.
Status: The status field shows the current status of the commission for a particular campaign. It indicates whether the commission is Approved, Pending, Approved, and Paid, or Denied.
Comment: A comment field allows the Campaign Manager to add any relevant notes or additional information when the conversion was created. It provides a space for internal communication or specific instructions related to the conversion.
Referrer: The Referer field captures the source or referring URL that led to the conversion. It helps identify the traffic source or referring website that contributed to the conversion.
Customize your grid with the following buttons:

Columns – This control allows you to customize the display of columns in the grid. You can find specific columns by searching, hide all columns to simplify the view, or show all columns to include all available data.
Filters – The filter control enables you to apply specific criteria to filter the data in the grid. This helps refine the information displayed based on your desired parameters, allowing for more focused analysis and insights.
Density – The density control allows you to adjust the width or thickness of the table in the grid. You can make the table wider to display more information at once or make it more compact to save space, depending on your preference and the amount of data you need to view.
Export – The export button allows you to download the grid data in a downloadable file format. This feature enables you to extract the information from the grid for further analysis or sharing with others, such as creating reports or conducting offline data analysis.

If you have any issues with a payment type, please contact the ‘Tracknow’ Support Team by clicking ‘here‘, we will do our best to answer all of your inquiries.