You can integrate with Tracknow in order to be able to track sales on your website using Google Tag Manager.
In this integration, GTM is used in order to load the necessary scripts.
Passing the click_id to the webstore’s landing page
Each time someone clicks on an affiliate’s tracking URL, that click is logged by our system. Click records hold information like:
- The affiliate whose link was clicked
- The campaign that the link is associated with
- Basic metadata about the client (IP address and user agent)
Every click record has a click ID. This parameter is essential for ensuring reliable tracking.
When a client clicks an affiliate link, they are redirected to your chosen landing page. You can enable passing the client’s click_id in the URL so that when they complete a purchase or another tracked action, this click_id is sent along with the purchase details to your Tracknow dashboard. This allows the system to accurately attribute the purchase to the correct affiliate.
Think of it like a client visiting a store after being recommended by an affiliate. When they walk in, they are wearing a sticker with the affiliate’s name. When the client makes a purchase, the seller checks the sticker to see which affiliate referred them and credits that affiliate accordingly.
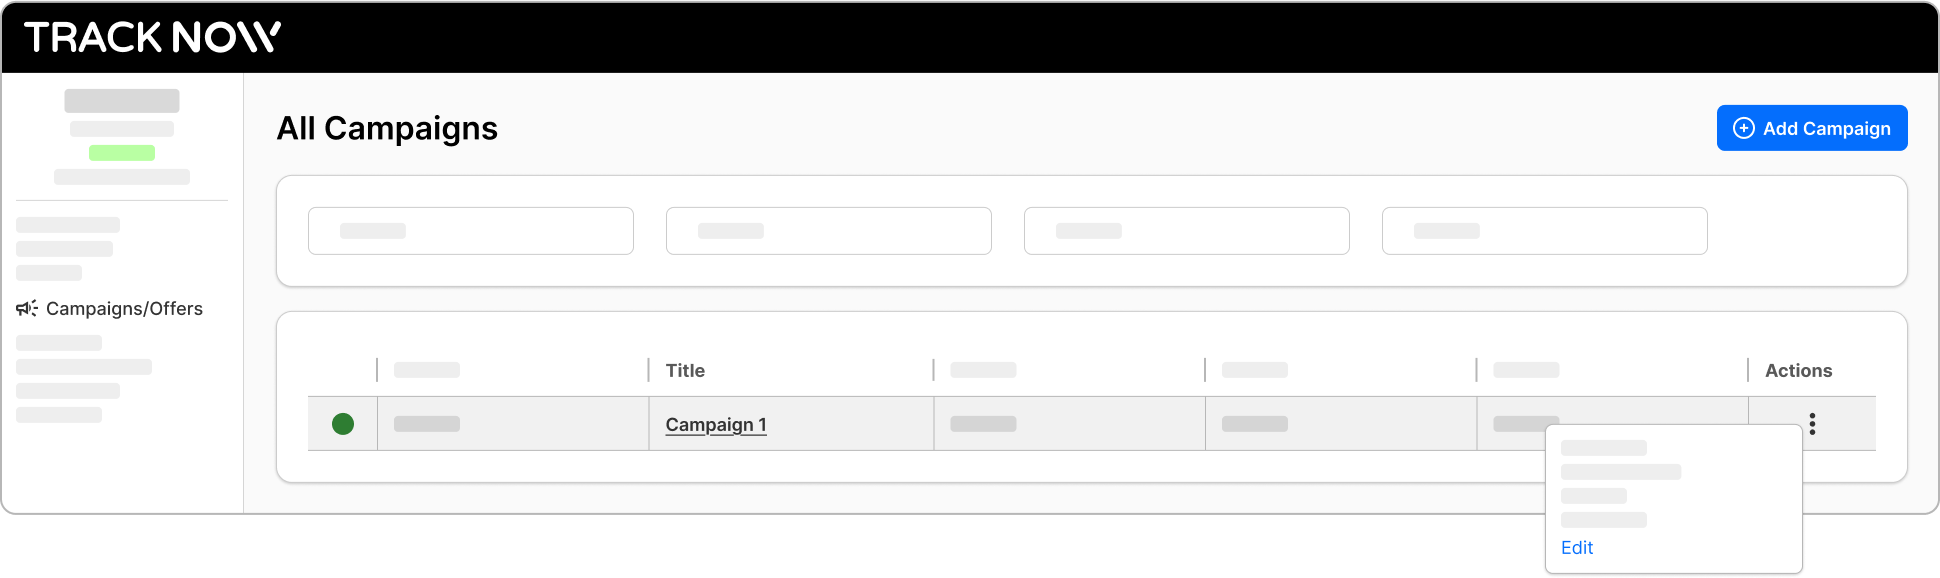
Login to your dashboard and navigate to Campaigns/Offers.
Click the Actions button next to the relevant campaign and select Edit.
Navigate to the Tracking screen.
Add the click_id macro to the Landing Page URL and to Deep Links and click Save.

Now, each time a client clicks an affiliate link, he will be directed to your landing page with his click_id in the URL.

Storing the click_id using GTM
Once the click_id is passed to the webstore, it should be saved in a browser cookie to ensure it persists as the customer navigates between pages. The click_id must still be available after a successful purchase so it can be included in the postback to Tracknow together with the purchase details.
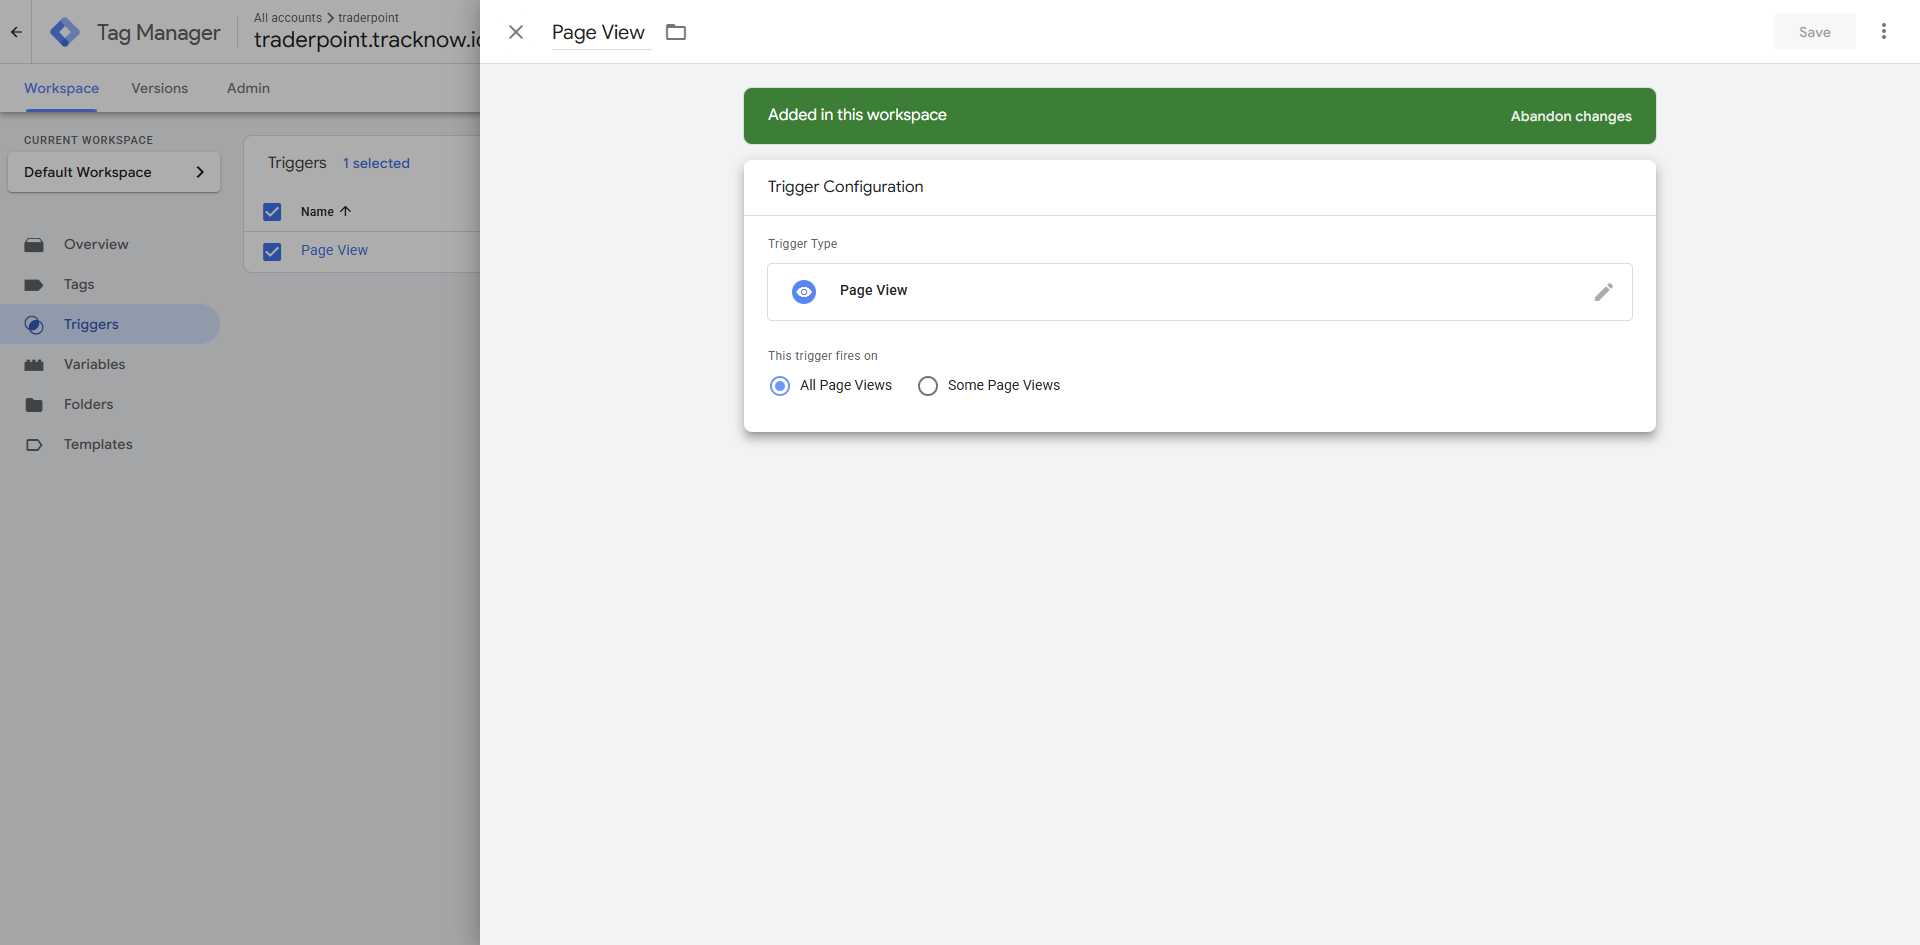
In Google Tag Manager, create a new Page View trigger and set it to fire on All Page Views. This ensures the click_id is captured and saved no matter which page the customer lands on, so it won’t be missed if they enter the site on a deep link.
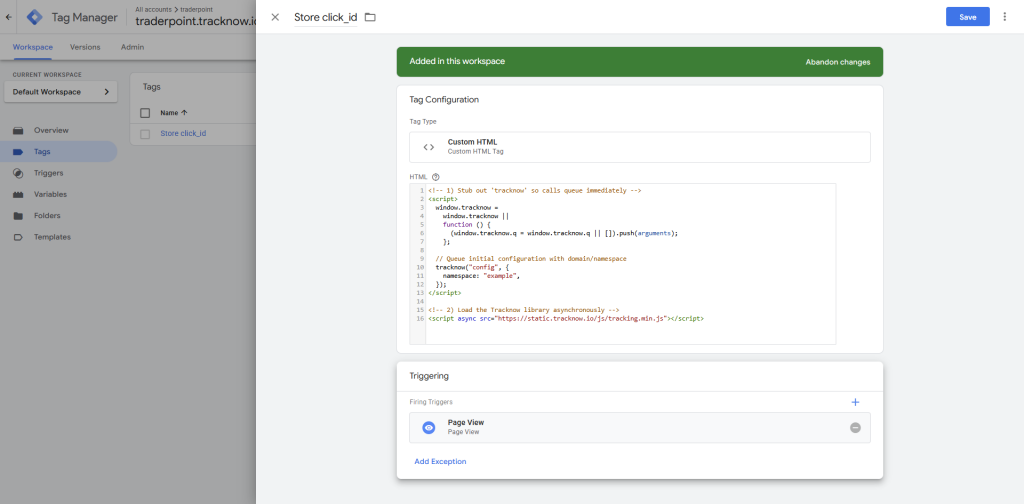
Finally, you’ll need to add the script responsible for storing the click_id.
In GTM, go to Tags > New > Create a Custom HTML type tag.
<!-- 1) Stub out 'tracknow' so calls queue immediately -->
<script>
  window.tracknow =
    window.tracknow ||
    function () {
      (window.tracknow.q = window.tracknow.q || []).push(arguments);
    };

  // Queue initial configuration with domain/namespace
  tracknow("config", {
    namespace: "ENTER YOUR NAMESPACE HERE",
  });
</script>

<!-- 2) Load the Tracknow library asynchronously -->
<script async src="https://static.tracknow.io/js/tracking.min.js"></script>
Copy the code above, replace the ENTER YOUR NAMESPACE HERE placeholder with your actual Tracknow namespace and paste the adjusted code in the GTM custom HTML code box.

Select the trigger you previously created as this tag’s trigger.
Sending purchase data using GTM
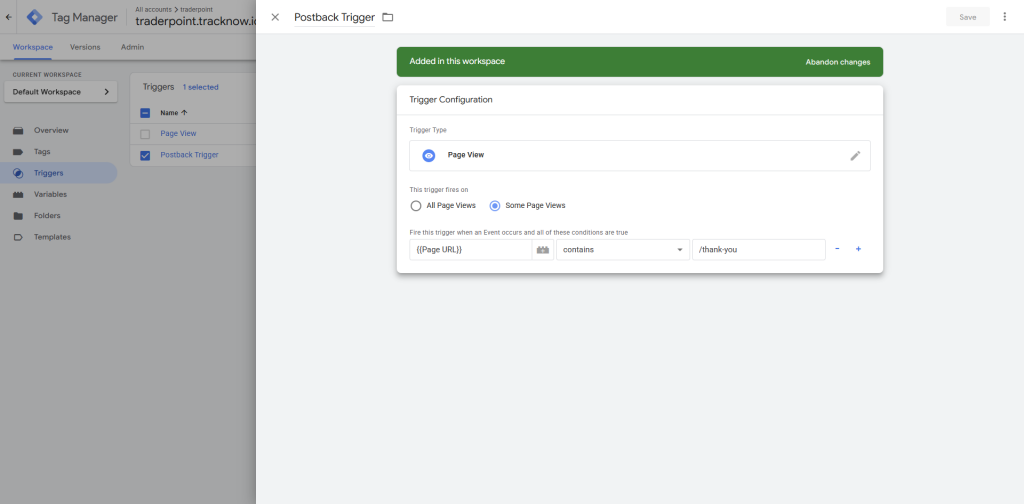
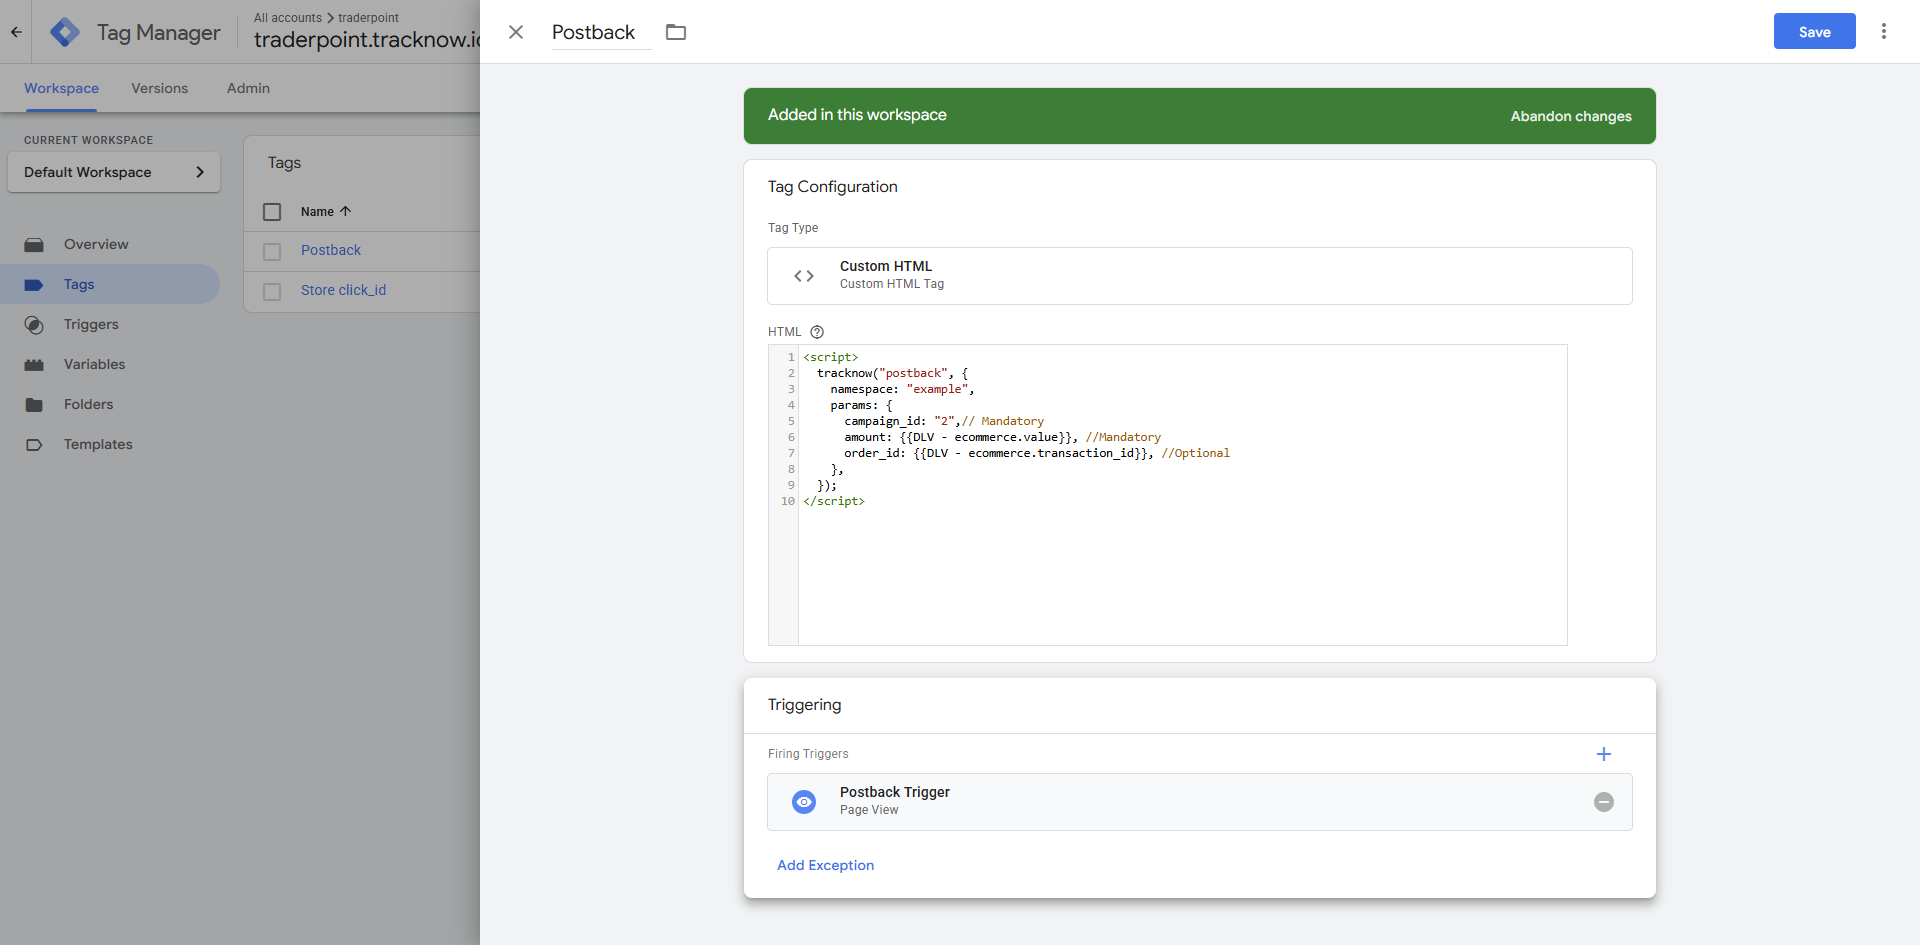
To send purchase data to Tracknow, use the webstore’s Thank You / Order Confirmation page as the trigger for firing the postback. This ensures the postback is sent only after the purchase has been successfully completed.
In GTM, create a new Page View trigger and set it to fire on Some Page Views. Then configure the condition so it fires only when the webstore’s Thank You page is viewed: set Variable to Page URL, choose Contains as the match type, and enter the Thank You page URL path (e.g., /thank-you).
Next, you’ll need to add the script responsible for storing sending the postback.
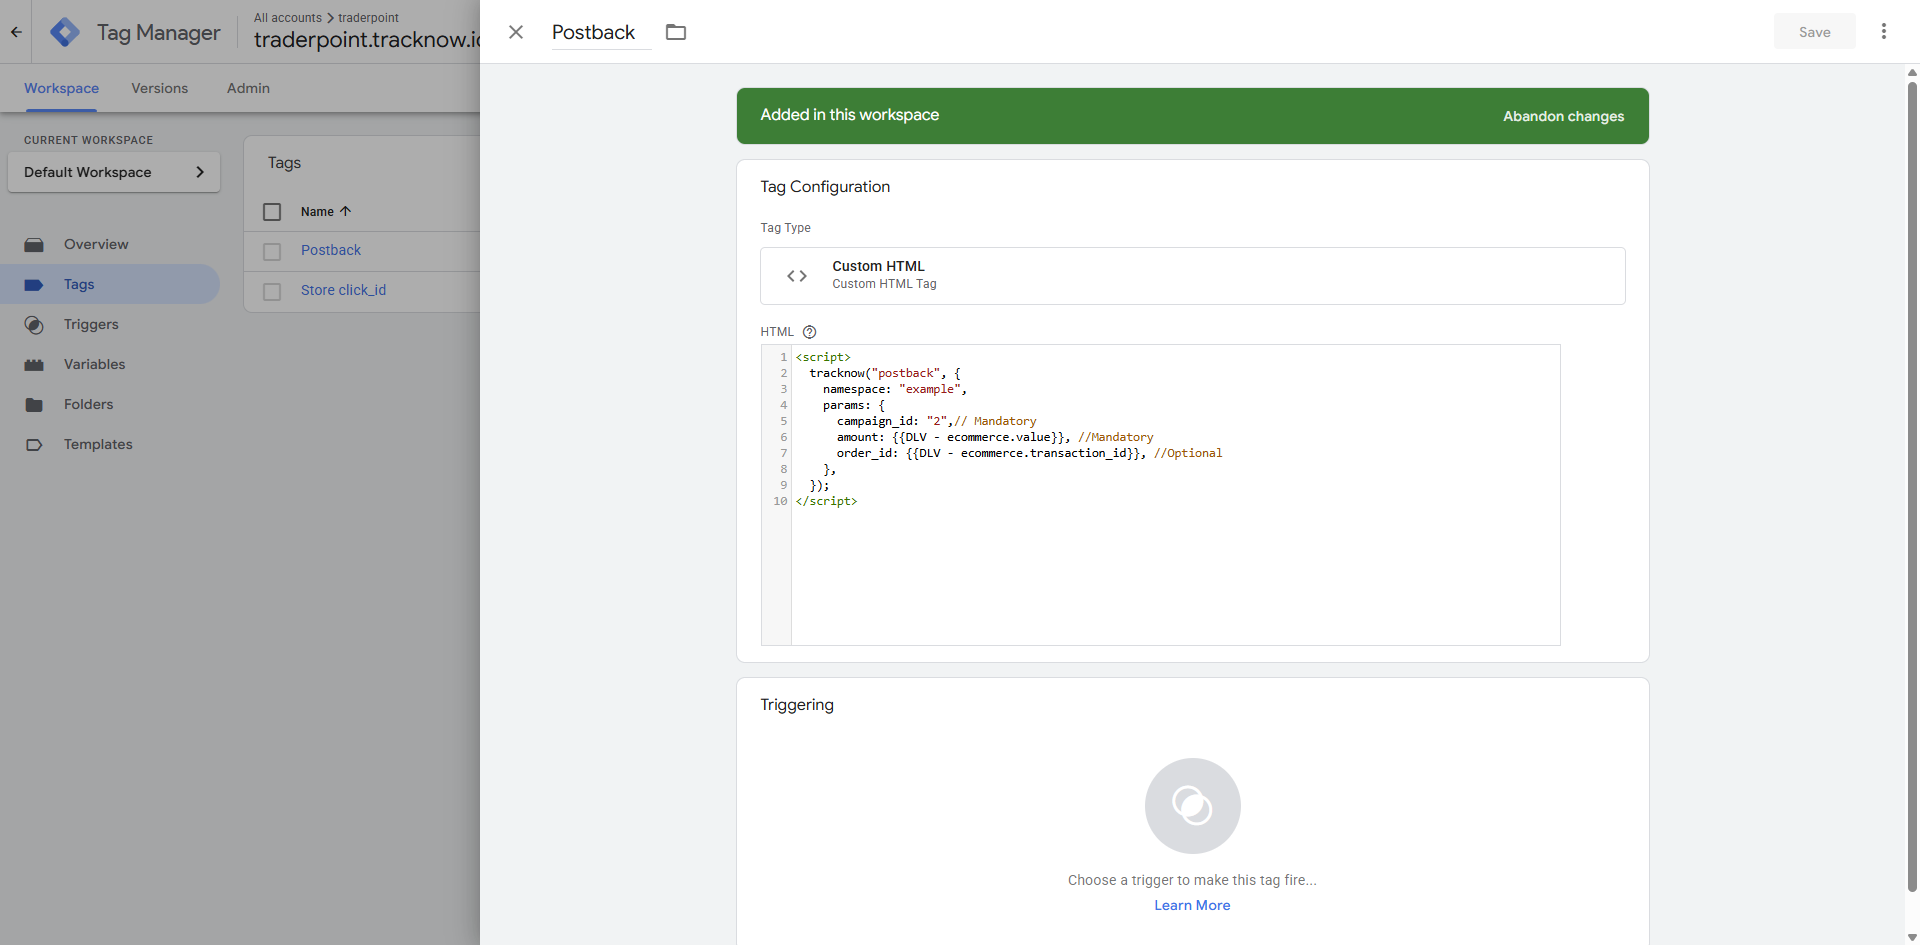
In GTM, go to Tags > New > Create a Custom HTML type tag.
<script>
  tracknow("postback", {
    namespace: "ENTER NAMESPACE HERE",
    params: {
      campaign_id: "ENTER CAMPAIGN ID HERE",// Mandatory
      amount: ENTER AMOUNT VARIABLE HERE, //Mandatory
      order_id: ENTER ORDER ID VARIABLE HERE, //Optional
    },
  });
</script>
Copy the code above and update the placeholders as follows:
- Replace ENTER CAMPAIGN ID HERE with the Tracknow campaign ID you want to attribute the conversion to.
- Replace ENTER NAMESPACE HERE with your Tracknow namespace.
You can include additional parameters in the postback to capture more purchase details from the webstore by adding them under the script’s params object. To see the full list of parameters Tracknow supports, click here.
For any parameter that should be populated dynamically (for example, the order total or order ID), replace the placeholder value in the code with the correct macro (Data Layer Variable Name) for that value (as provided by your webstore/GTM setup).
Select the postback trigger you previously created as this tag’s trigger.
Important Notes
On single-page applications (SPAs), navigation typically happens without a full page reload. As a result, a standard Page View trigger may not fire when the user moves between routes. In these cases, use a History Change trigger to detect URL changes and fire your tag accordingly.