Welcome to Tracknow!
In this guide, we will walk you through the initial steps of setting up your account. To ensure a smooth start, there are a few important parts of the system that we recommend configuring first.
Access these settings through the ‘Settings’ dashboard, which includes several tabs: General, Users, Emails, Customize, and Integrations. In this introduction, we will walk through each of the main settings.
General

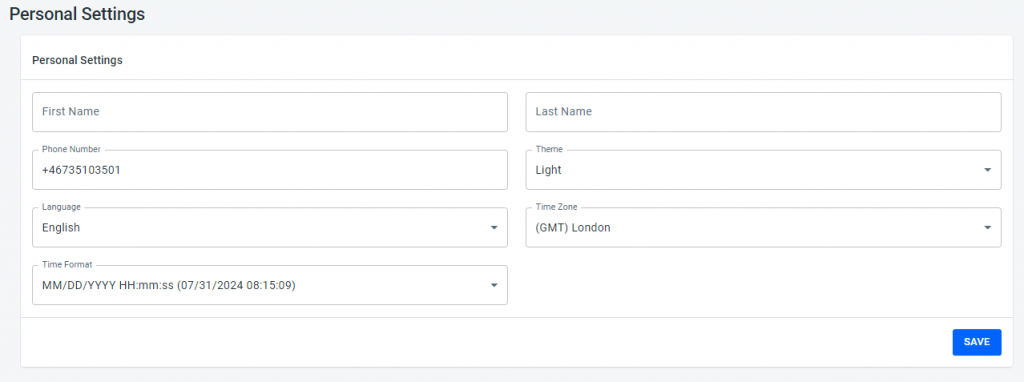
Personal Settings
The first tab is ‘Personal Settings’, where you can save your personal data, choose your preferred language, and set up your time zone and time format.
Please fill in and save the following information:
- First and Last Name: Your first and last name
- Phone Number: Your phone number
- Theme: Customize the platform theme (Light, One Dark, Unicorn)
- Language: Choose your preferred language
- Time Zone and Time Format: Set the time zone and format that best align with your needs
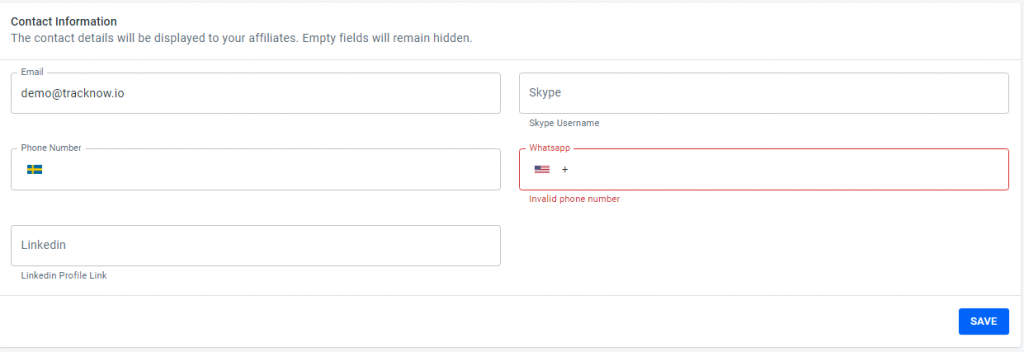
Contact Information
In this section, you are able to add your contact information.
The added contact details will be displayed to your affiliates. Empty fields will remain hidden.
Profile Picture
You are able to add your profile picture.


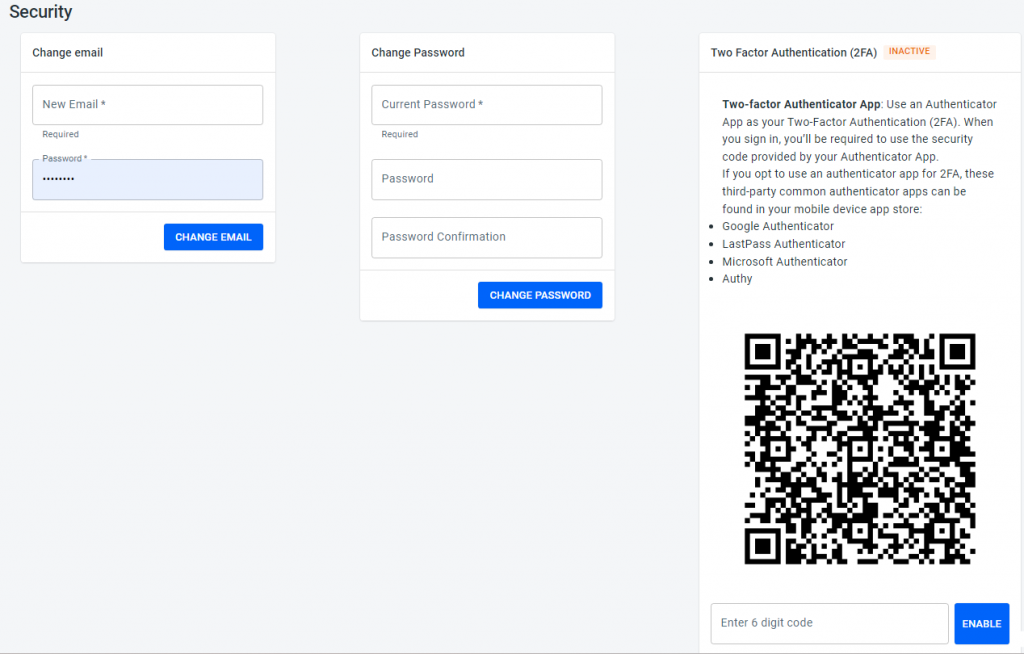
Security
In the ‘Security’ tab, you are able to change email, password, and set up two factor authentication (2FA).

Company Settings
In the Company Settings, you need to fill the following:
Affiliate company – fill the affiliate company name
Tax id – fill your Tax Id, the filled tax id will be mentioned in the invoices.
API allowed IPs – Only Api key requests from these IPs will be allowed (Whitelist IPs). The IPs should be split by a comma. For example: 127.0.0.1, 192.17.17.1. Keep the empty entry to allow all IP addresses.
Manager allowed IPs – Only Managers logged in from these IPs will be allowed (Whitelist IPs). The IPs should be split by a comma. For example: 127.0.0.1, 192.17.17.1. Keep the empty entry to allow all IP addresses.
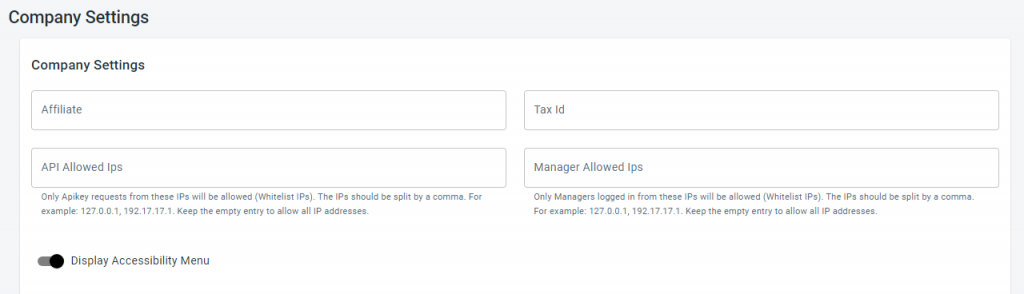
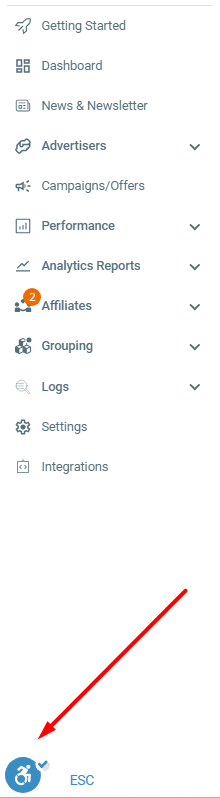
Use this button to enable or disable the Accessibility Menu.
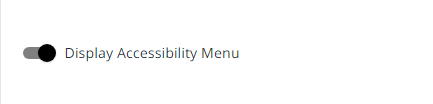
Once you disable the Accessibility Menu, you will not see this menu in the dashboard:
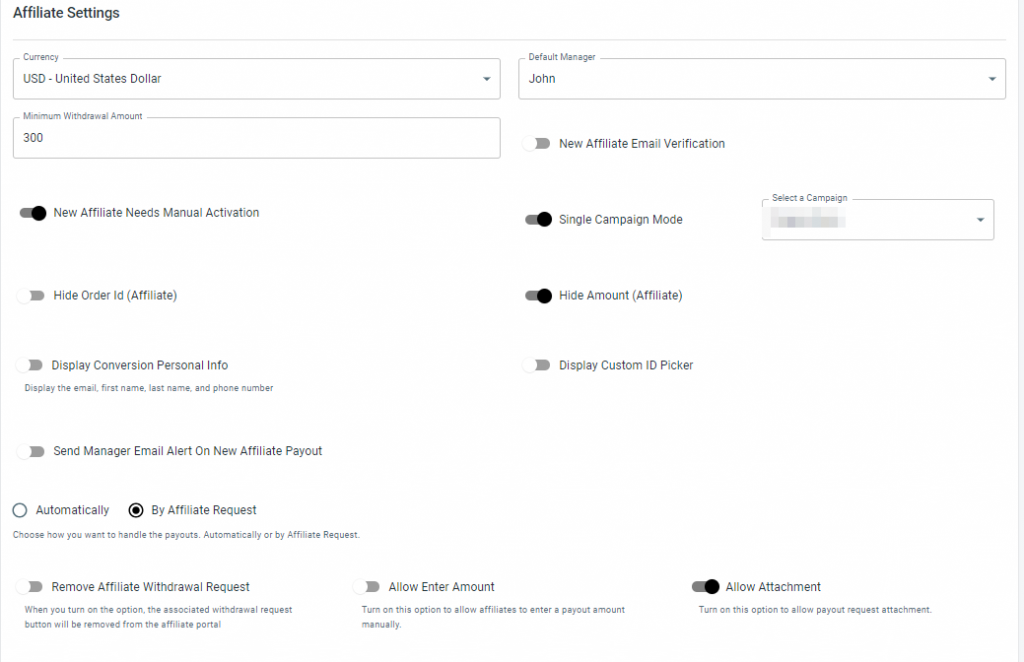
Affiliate Settings
In the Affiliate Settings section, you are able to manage important affiliate settings.
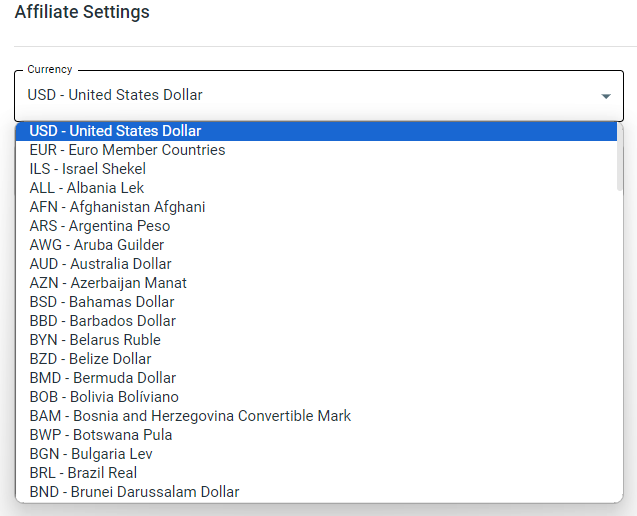
In the currency tab you can choose the necessary Currency for your affiliate program:
Following that, you are able set up the Minimum Withdrawal Amount:
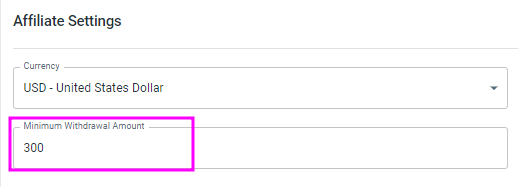
After setting a Minimum Withdrawal Amount, the affiliate will be able to view it on their dashboard:

Single Campaign Mode
When activating the Single Campaign Mode, affiliates will only see the designated campaign, eliminating exposure to other campaigns. This focused approach helps them concentrate on the required campaign

New Affiliate Email Verification
When activating this, new affiliates will be required to email verification.

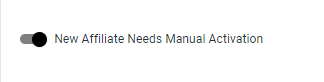
New Affiliate Needs Manual Activation
Activate this in order to have the new affiliates manually activated.
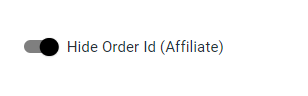
Hide Order Id (Affiliate)
Activate this in order to hide Order ID from affiliate.
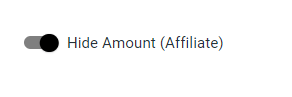
Hide Amount (Affiliate)
Activate this in order to hide the amount from the affiliate.
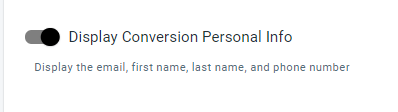
Display Conversion Personal Info
Activate if you would like to display the email, first name, last name, and phone number.
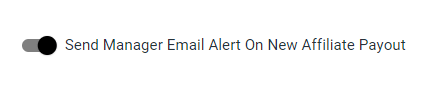
Send Manager Email Alert On New Affiliate Payout
Activate if you would like to have manager email alert on new affiliate payout.
Display Custom Id Picker
Activate if you would like……

Set up how you want payouts to be handled
Choose how you want to handle the payouts. Automatically or by Affiliate Request.
If you choose Automatically, you need to choose the Period Type and Day of Week:

If you choose By Affiliate Request, you are also able to do the following setup:
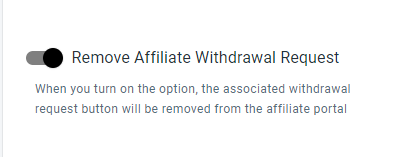
Remove Affiliate Withdrawal Request
When you turn on this option, the associated withdrawal request button will be removed from the affiliate portal
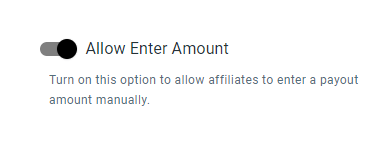
Allow Enter Amount
Activate this option to allow affiliates to enter a payout or amount manually.
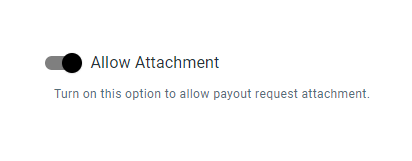
Allow Attachment
Activate this option to allow payout request attachment.
Registration Settings
Single Campaign Mode
When activating the Single Campaign Mode, affiliates will only see the designated campaign, eliminating exposure to other campaigns. This focused approach helps them concentrate on the required campaign
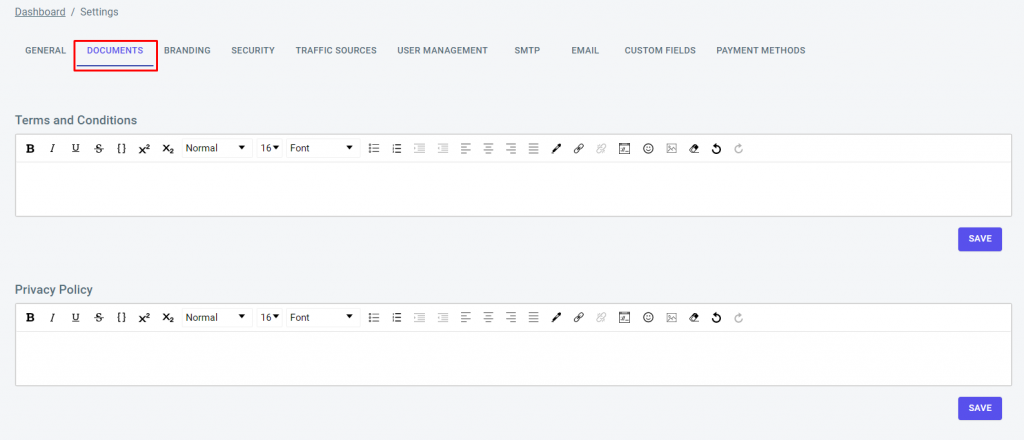
Documents
On this page, you can write “Terms and Conditions” and “Privacy Policy” for your affiliate program. These documents serve as a foundation for a well-structured, transparent, and legally compliant affiliate program.
Branding
Here you can customize your brand presence by uploading your brand logo and setting up a custom domain.

Brand Logo – By adding your logo, you create a consistent visual representation of your brand throughout the platform. It helps affiliates and users recognize your program and builds trust and recognition. To add your logo click on the ‘Upload‘ button.
SSL Custom Domain – To establish a professional and secure online presence, you can set up an SSL Custom Domain for your affiliate platform. This allows you to use a unique domain name that reflects your brand and enhances your credibility.
Customizing the Domain
- Log in to your hosting account and find the DNS management page.
- Look for sections like ‘DNS Management’ or ‘Name Server Management’ to find CNAME records.
- If you can’t find the CNAME management options, you might need to enable advanced settings.
- If you’re unable to locate these options, please reach out to your domain host directly for assistance.
- Create a CNAME record that points to whitelabel.tracknow.io.
- This record ensures that your domain is linked correctly to the TrackNow platform.
- Wait for the DNS update to take effect. It might take some time.
- Once the DNS update is completed, you will see a “CNAME” record checkmark ✔ next to the name field.
- This confirms that the CNAME record has been successfully set up.
By following these steps, you will be able to configure the necessary CNAME records to connect your domain with the TrackNow platform.
Security
Here, you have the ability to manage the security of your account by changing your email and password.
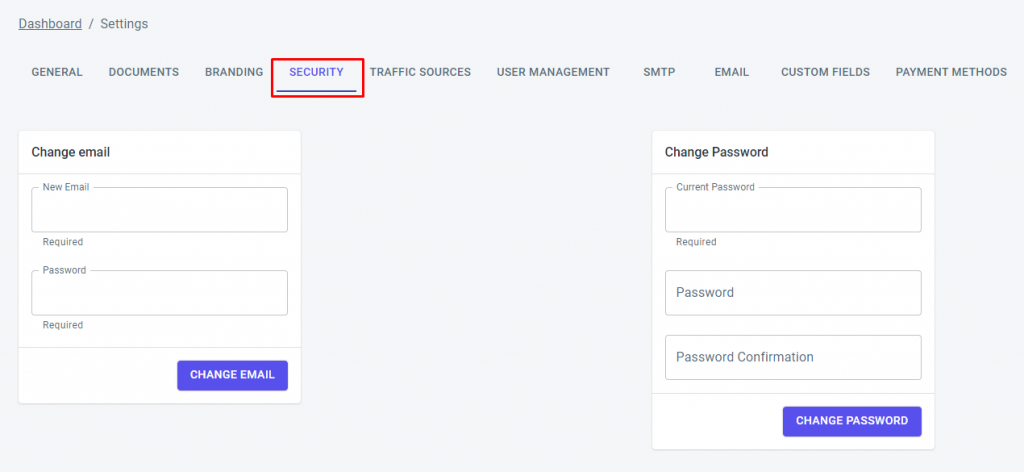
Change Email – If you need to update the email associated with your account, simply provide your new email address, and the system will update it accordingly.
It’s important to keep your email information up to date to ensure smooth communication and receive important notifications regarding your affiliate program.
Change Password – Protecting your account with a strong password is vital for maintaining security. On this page, you can change your password by entering your current password and then providing a new, secure password.
Remember to choose a strong password and keep your email information up to date to ensure a secure experience. We recommend using a combination of uppercase and lowercase letters, numbers, and special characters to create a robust password.
Traffic Sources
This page allows you to manage and add your traffic sources, which are the platforms or channels through which you generate traffic for your affiliate program.
Adding traffic sources is a key step in tracking and analyzing the effectiveness of your marketing efforts.
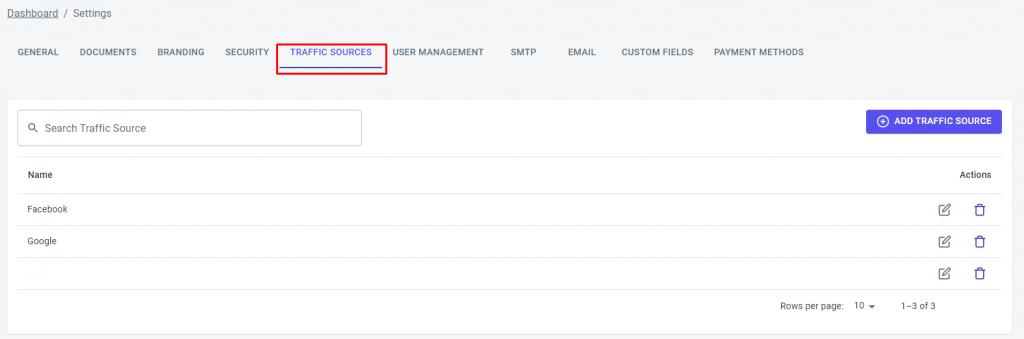
A further explanation of how to add Traffic Sources can be found here.
User Management
This page allows you to efficiently manage the users of your platform, specifically, the managers/ merchants who have access to various functionalities. Each manager can be assigned specific permissions based on their role within your affiliate program.
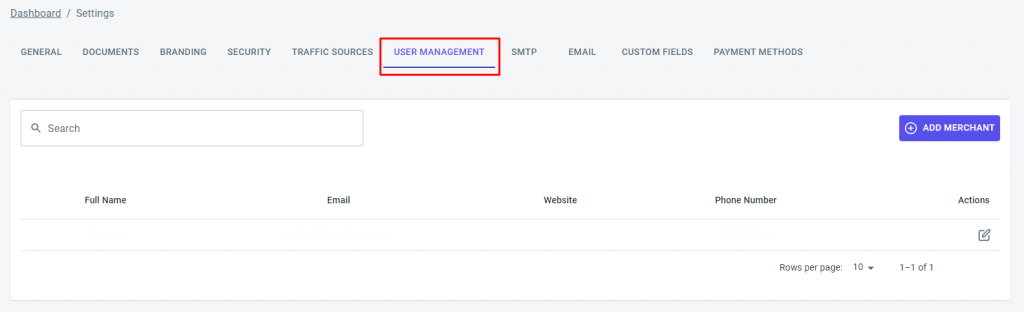
An explanation of how to add managers/merchants can be found here.
SMTP
This page allows you to integrate your own SMTP (Simple Mail Transfer Protocol) server to send emails from your affiliate program. By adding your SMTP server, you can personalize and enhance email communication with your affiliates.
Utilize the “Email” page on your affiliate platform to easily customize and tailor email templates to suit your campaign’s specific needs and branding guidelines.
An explanation of how to integrate a personalized SMTP and Email can be found here.
Custom Fields
This page allows you to add custom fields to the affiliates’ login page, providing you with the ability to collect additional information and tailor the registration process to your specific requirements.
To add or edit a Custom Field navigate to your dashboard and click on ‘Settings’ and select ‘Custom Fields‘.
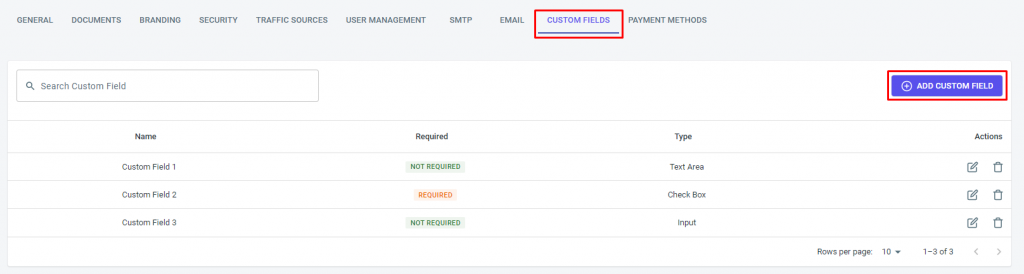
To create a new custom field, click the ‘Add Custom Field‘ button on the right.
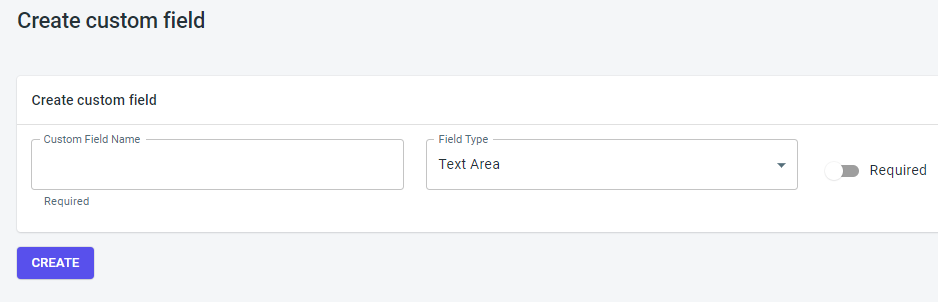
To create a custom field, simply provide a name for the field and select the desired field type. You can choose three Custom field options: text area, checkbox, and input. Additionally, you can specify whether the custom field should be mandatory or optional for users to complete by clicking on the ‘Required‘ button.
Payment Methods
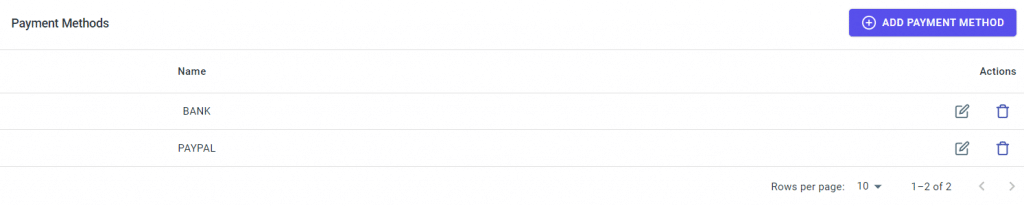
On the Payment Methods page, you can conveniently add and edit the payment methods available for your affiliates. A payment method refers to the specific way in which you transfer funds to your affiliates as commissions or payouts for their performance.
Once you have taken those initial steps, you are prepared to embark on creating your very first campaign! However, before diving into that process, it is essential to add an Advertiser to your platform.
An explanation of how to add an advertiser can be found here.
Creating a Campaign
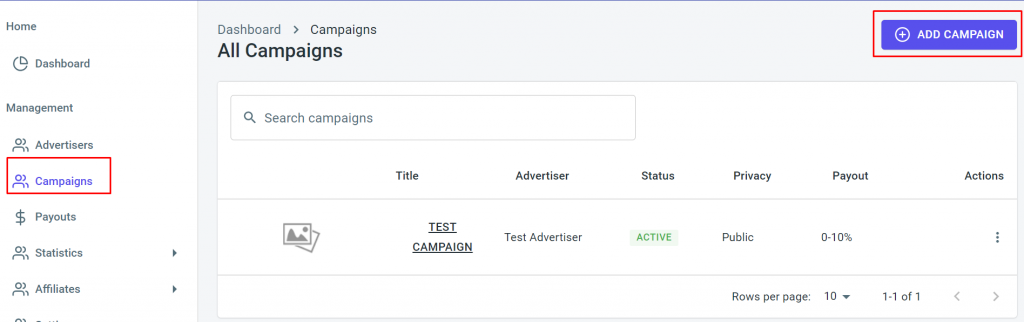
- Navigate to your Dashboard and click on ‘Campaigns.’
In this tab, you can see all of your active and past campaigns, as well as get quick information about them.
2. To create a new campaign, click the ‘Add campaign‘ button on the right.
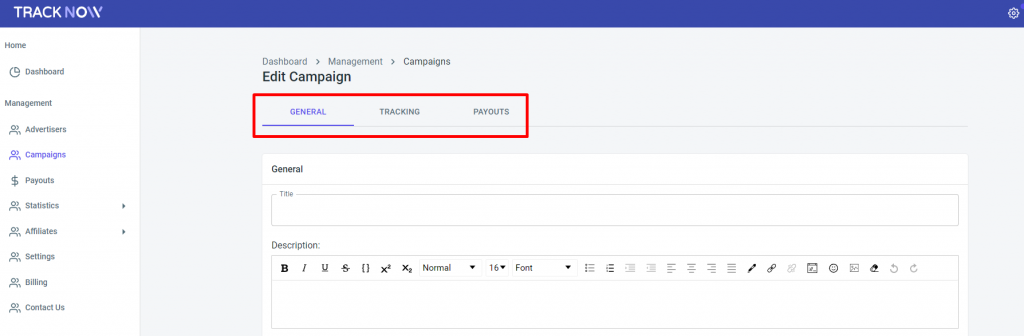
3. You will be asked to provide details about your campaign in three main areas: General, Tracking, and Payouts.
Click here for the extended guide on how to create a campaign.

If you have any issues with your first steps, please contact the ‘Tracknow’ Support Team by clicking ‘here‘, we will do our best to answer all of your inquiries.